

Did you know that all businesses in Kenya are supposed to sign up for eTIMS and start issuing eTIMS Invoices? Yes, that true. If you are a business owner in Kenya, you need to comply with this directive from Kenya Revenue Authority (KRA) by signing up for eTIMS. The good news is that you can easily signup for eTIMS Lite by using your own eCitizen account.
READ ALSO: How To Onboard on eTIMS Lite via eCitizen
To be able to successfully sign up for eTIMS Lite on eCitizen, you need to ensure that you already have an active eCitizen account and that you are able to login into your eCitizen account by using both your ID Number (email address) and eCitizen account password. In this blog post, I will be sharing with you the main steps that you need to follow so as to successfully sign up for eTIMS Lite using eCitizen account.
How To Sign Up for eTIMS Lite using eCitizen
The following are the 10 main steps involved in the process of How To Sign Up for eTIMS Lite using eCitizen that you need to follow.
Step 1: Visit ecitizen.kra.go.ke
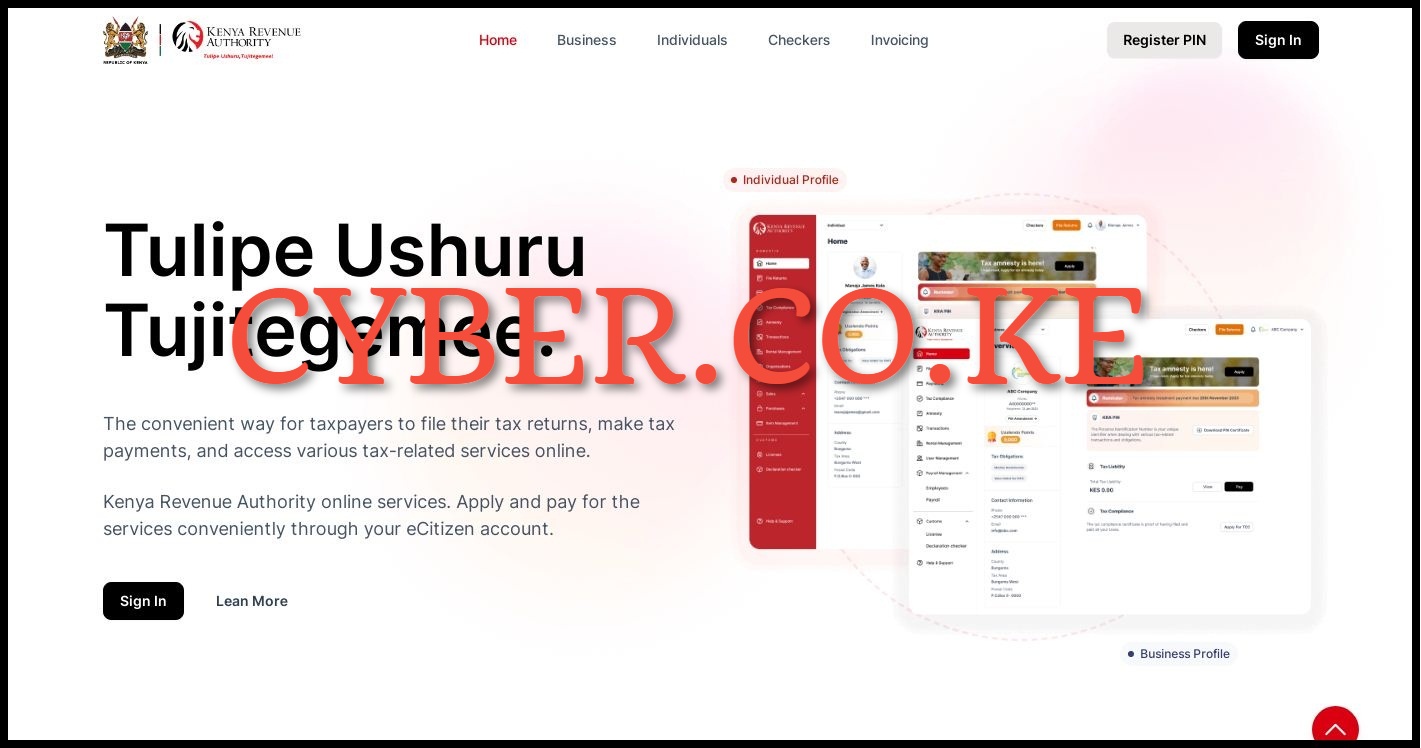
To be able to sign up for eTIMS Lite using eCitizen account, the first step that you need to take is to visit https://ecitizen.kra.go.ke/
Step 2: Click on the Sign In button
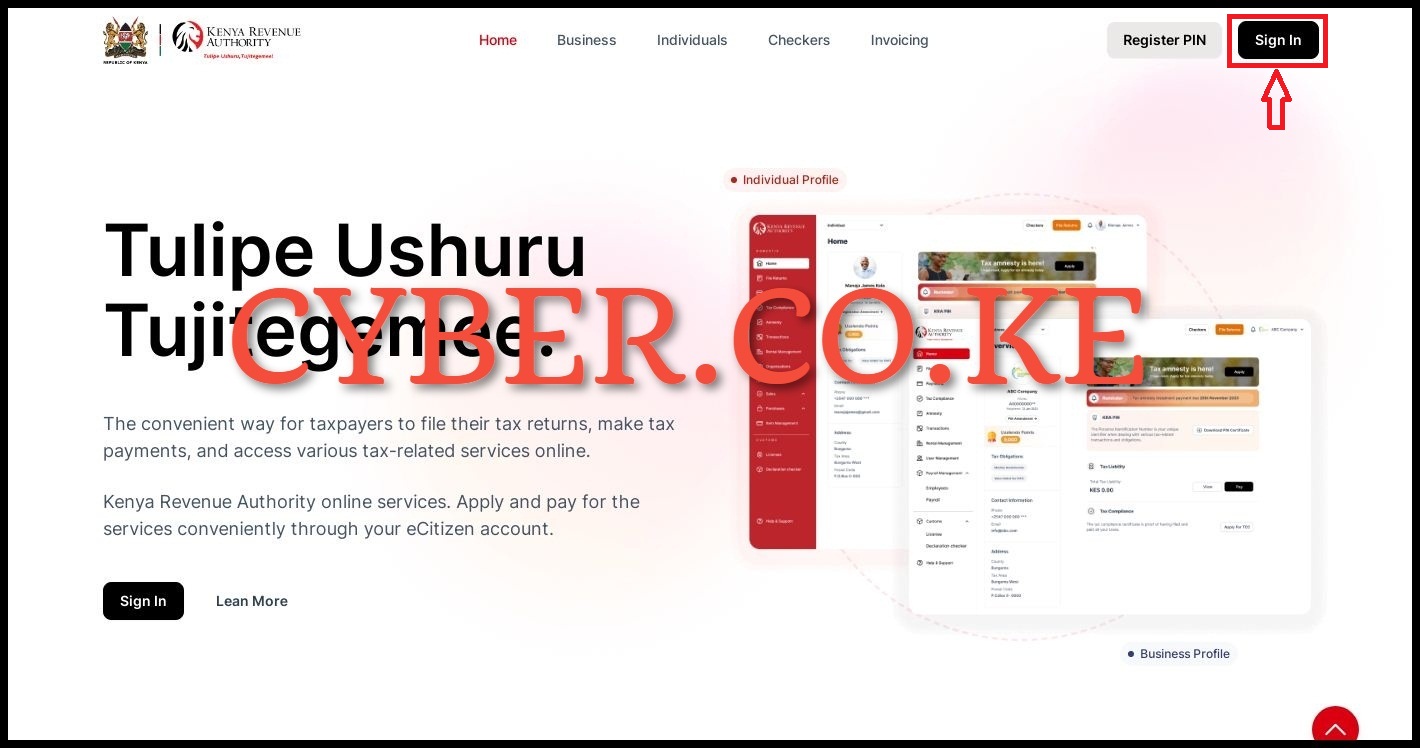
Once you are on https://ecitizen.kra.go.ke/ homepage, click on the “Sign In” button that is located at the top right corner.
Step 3: Login Into eCitizen
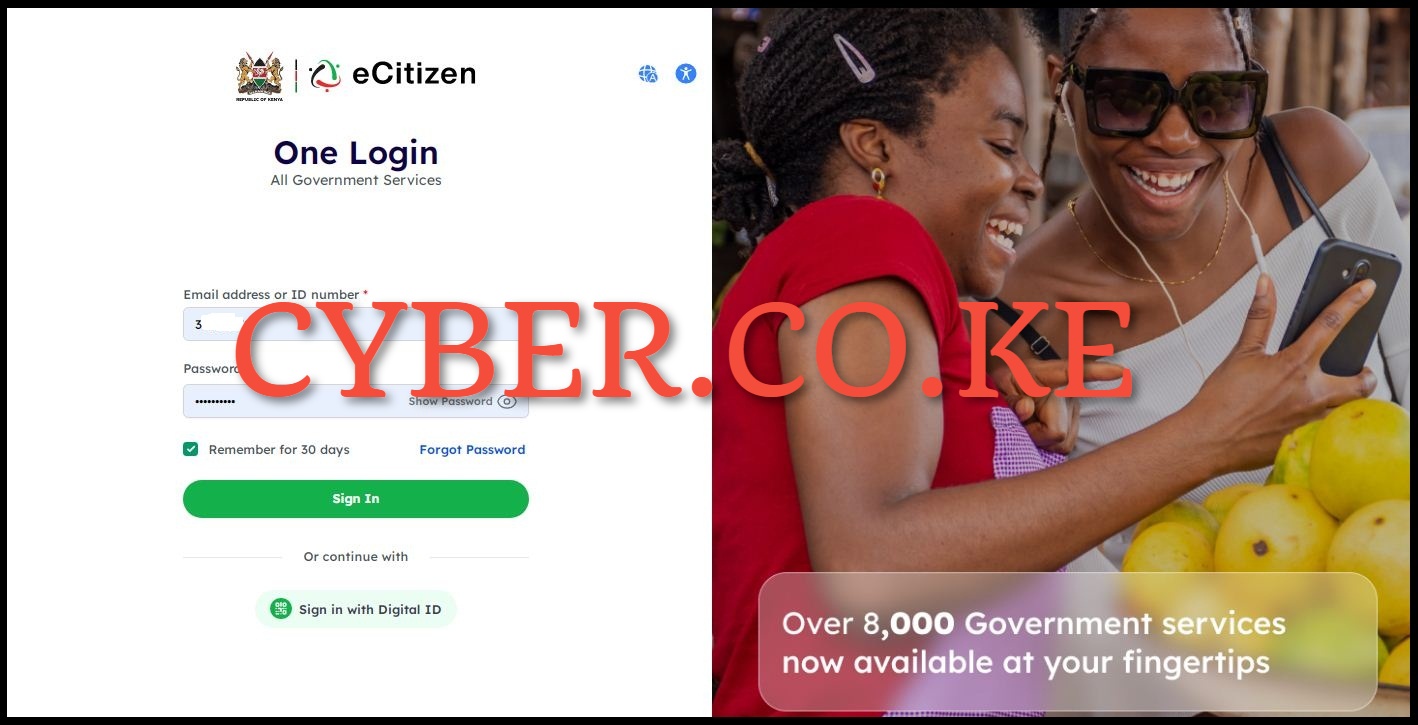
Next, enter your ID Number (email address), eCitizen account password and then click on the “Sign In” button to begin the process of signing up for eTIMS Lite using eCitizen account.
Step 4: eCitizen OTP Verification
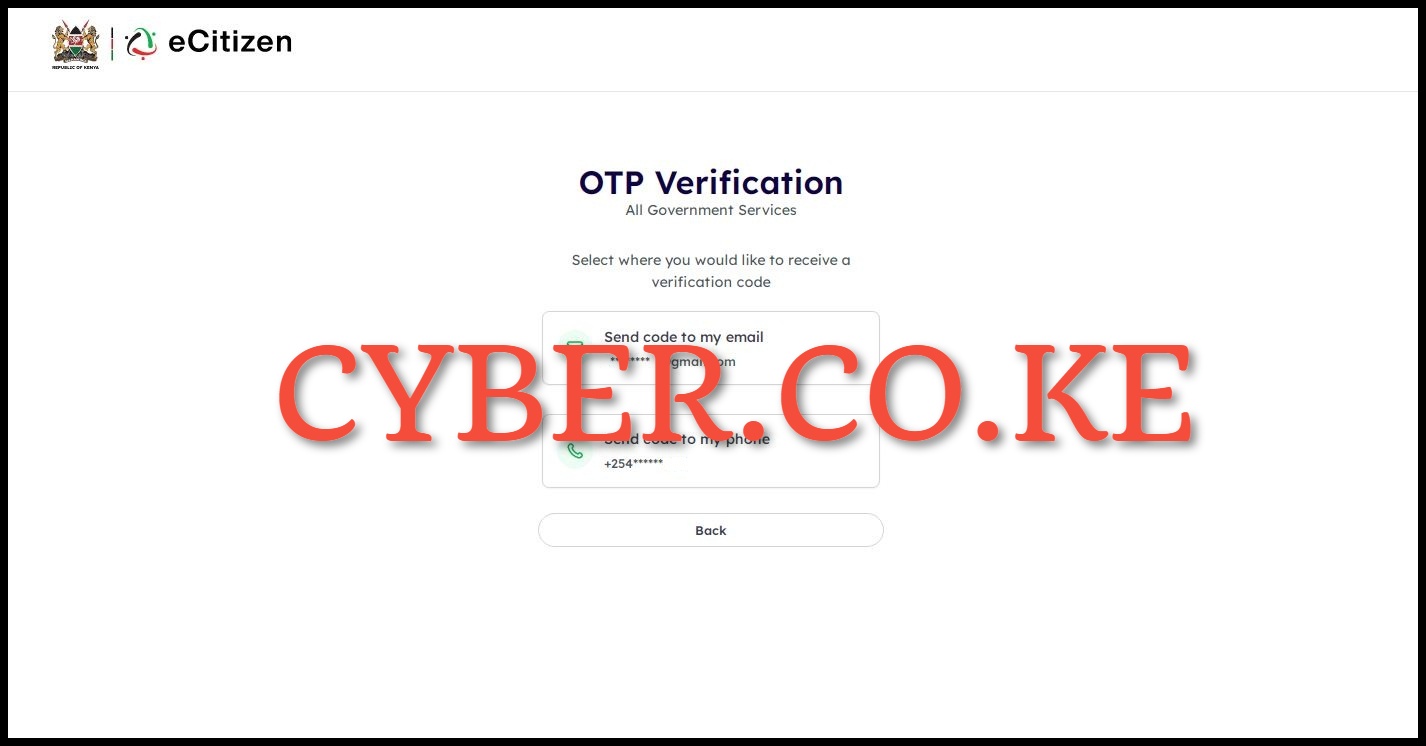
In this step, you need to choose the eCitizen OTP Verification method either to receive the OTP Code either via Email Address or Phone Number (Mobile Number). You need to select the option that suits your preference.
Step 5: Enter eCitizen OTP Verification Code
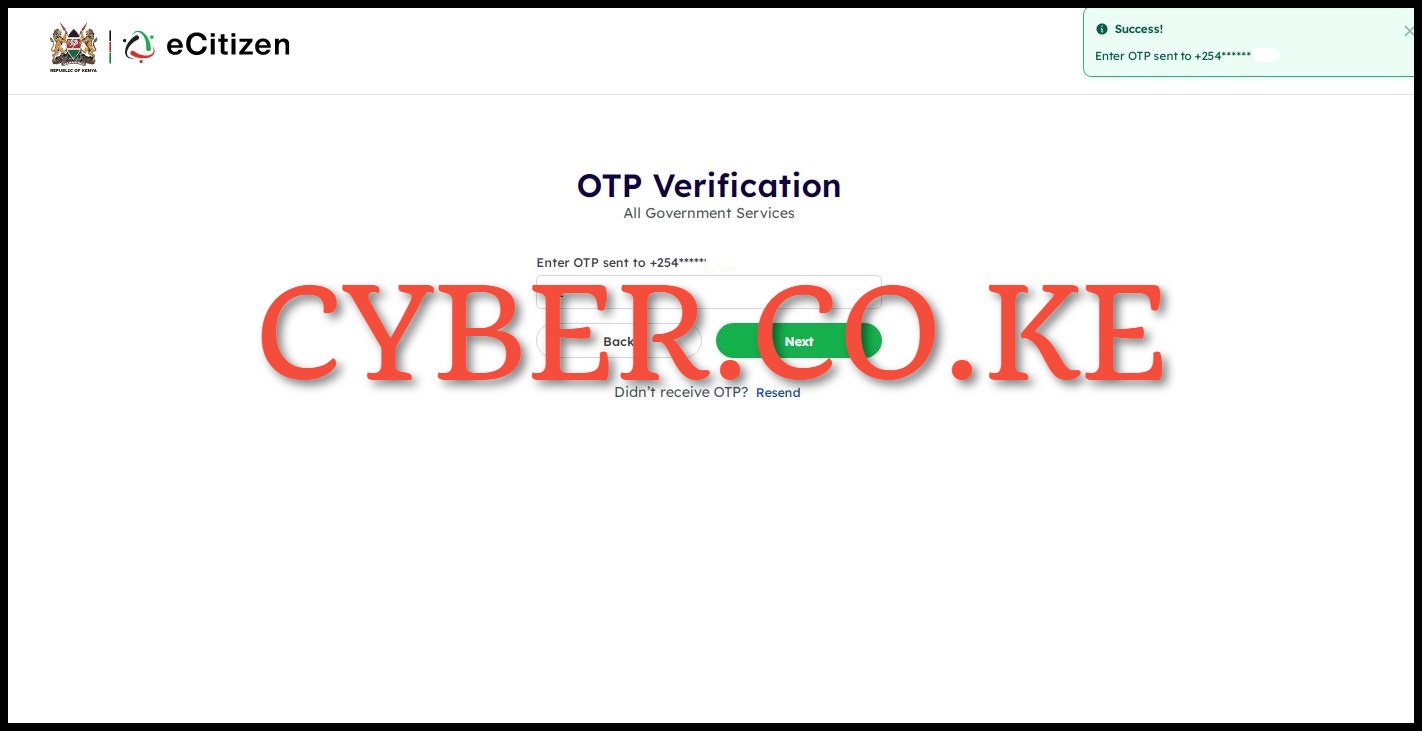
Next, enter the eCitizen OTP Verification Code that was sent to either your email address or phone number (mobile number) depending on the option that you chose on step 4 above.
Step 6: eCitizen Oauth Consent Screen

In this step, you will see the message “You are about to sign in to iTax as:” specifying whether you are accessing your eCitizen account as an individual or a business entity, depending on your selection. In our scenario, we are signing in as an individual. Simply click on the “Proceed” button to continue.
Step 7: eCitizen.kra.go.ke Account Dashboard
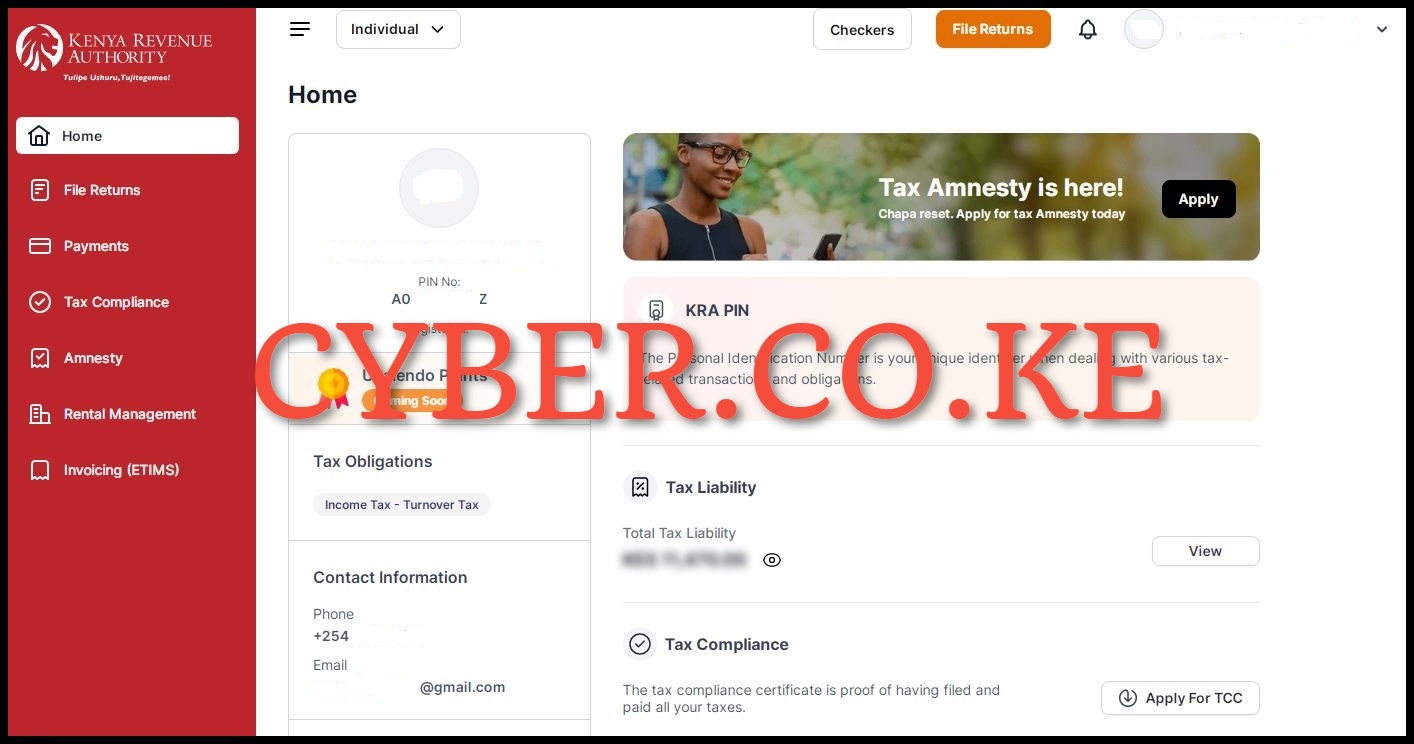
After successfully logging in, you will be able to see your eCitizen.kra.go.ke account dashboard whereby you now need to start the process of signing up for eTIMS Lite.
Step 8: Click on Invoicing (eTIMS)
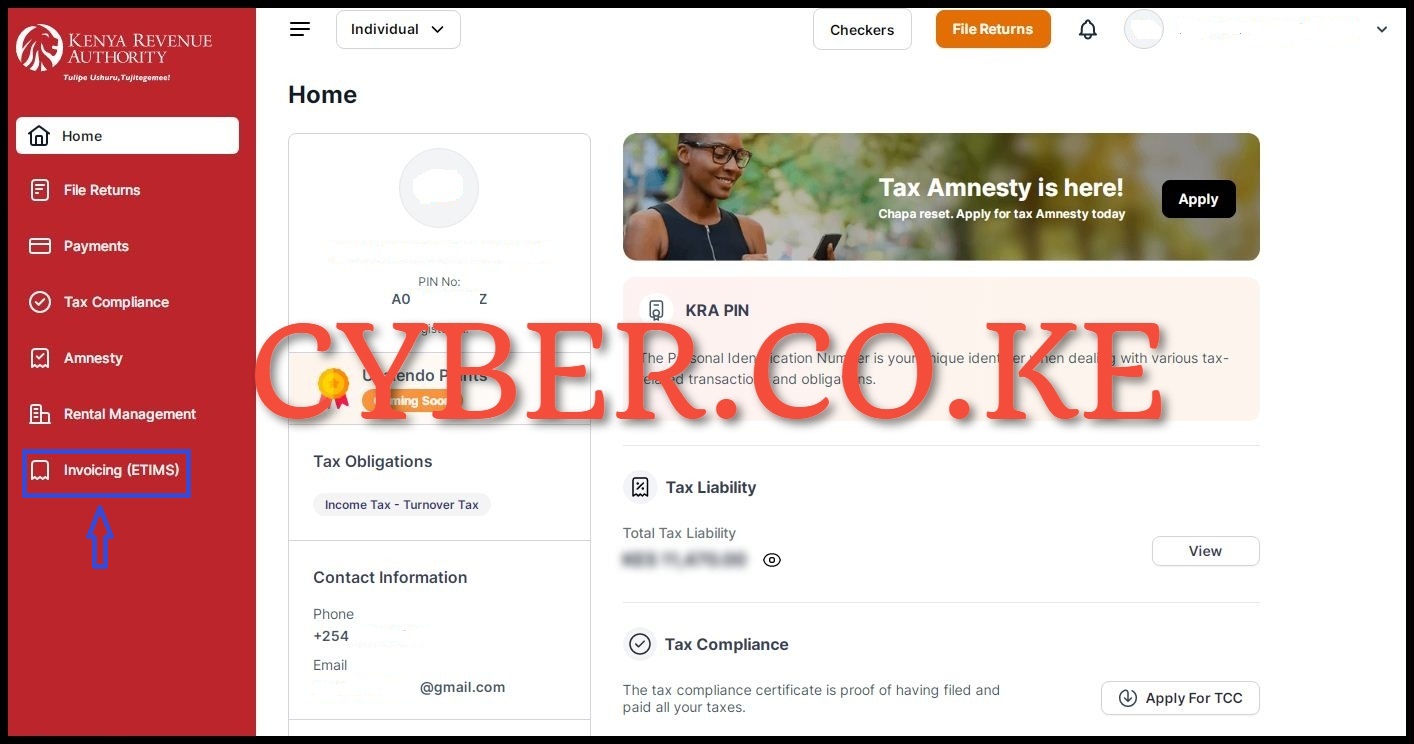
On the left side panel menu in the account dashboard, click on “Invoicing (eTIMS)” to start the process of signing up for eTIMS Lite using eCitizen.
Step 9: Accept eTIMS Lite Terms and Conditions and eTIMS Lite Privacy Policy
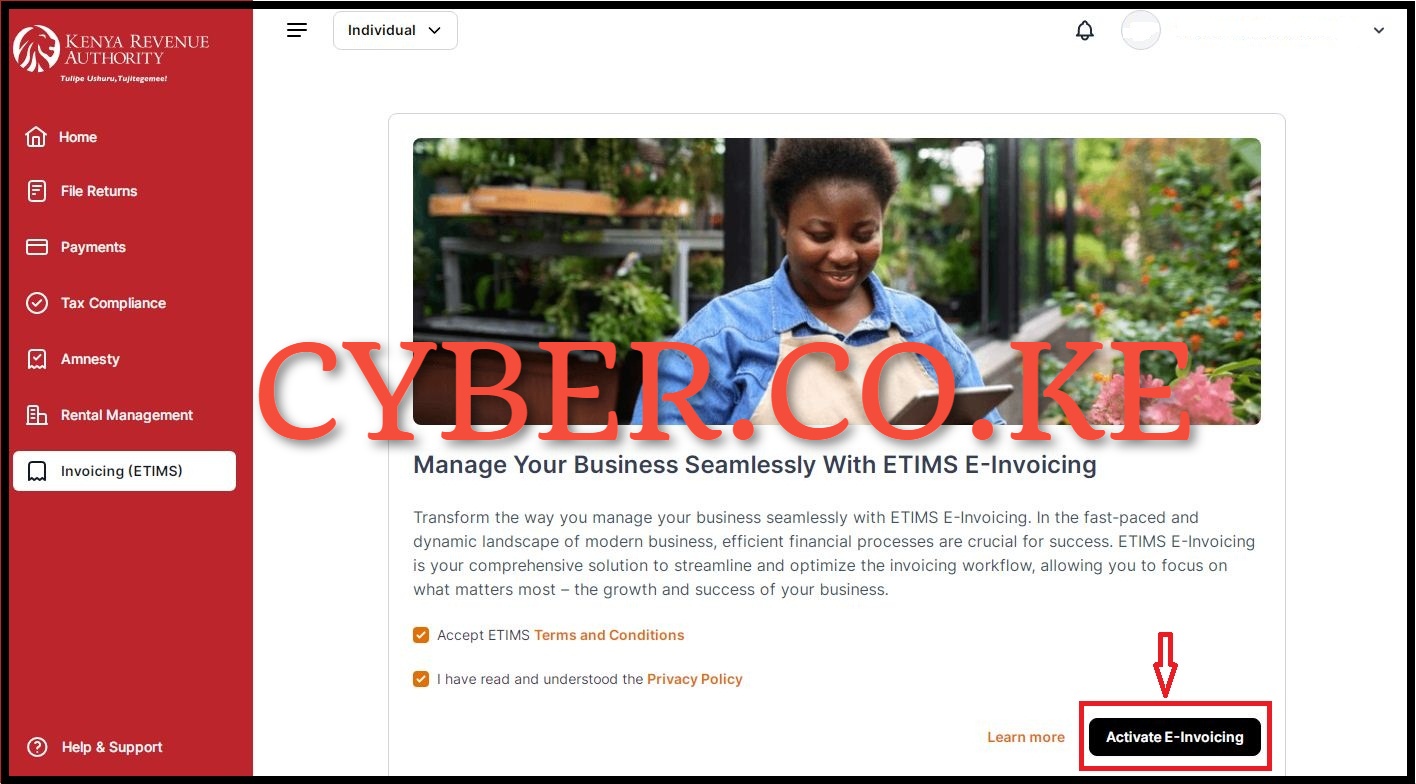
In this step, you need to accept the eTIMS Lite Terms and Conditions and also agree to the eTIMS Lite Privacy Policy by ticking on the respective check boxes. After you have done all that, click on the “Activate e-Invoicing” button. This will activate the features of the eTIMS Lite on eCitizen and you can start start generating eTIMS invoices using your eCitizen account quickly and easily. After activating Invoicing via eTIMS Lite, you will the message “Invoicing Successfully Activated” meaning that you have successfully signed up for eTIMS Lite Invoicing using eCitizen.
Step 10: eTIMS Lite Account Dashboard

After successfully activating eTIMS Lite on eCitizen, you will be able to see and use the various eTIMS Lite features that are at your disposal. The various features that are available on eTIMS Lite includes: Sales (Invoices, Proforma, Quotations, Customers, and Credit Notes); Purchases (Local Purchase Orders, Purchase Invoices, and Suppliers) and finally, Items Management. At this point, you can now start generating and issuing eTIMS Invoices to all your customers and remain compliant as per the requirement by Kenya Revenue Authority (KRA).
READ ALSO: How To Register for eTIMS Lite (Web Based Solution)
Signing up for eTIMS Lite is quite simple and straightforward provided that you already have an eCitizen account. Also, you need to ensure that you are able to login to your eCitizen account using either your ID Number (email address) and eCitizen account password. Once you have confirmed all these, you can follow the above 10 main steps to successfully sign up for eTIMS Lite on eCitizen and begin issuing eTIMS Invoices to your customers and clients in Kenya.